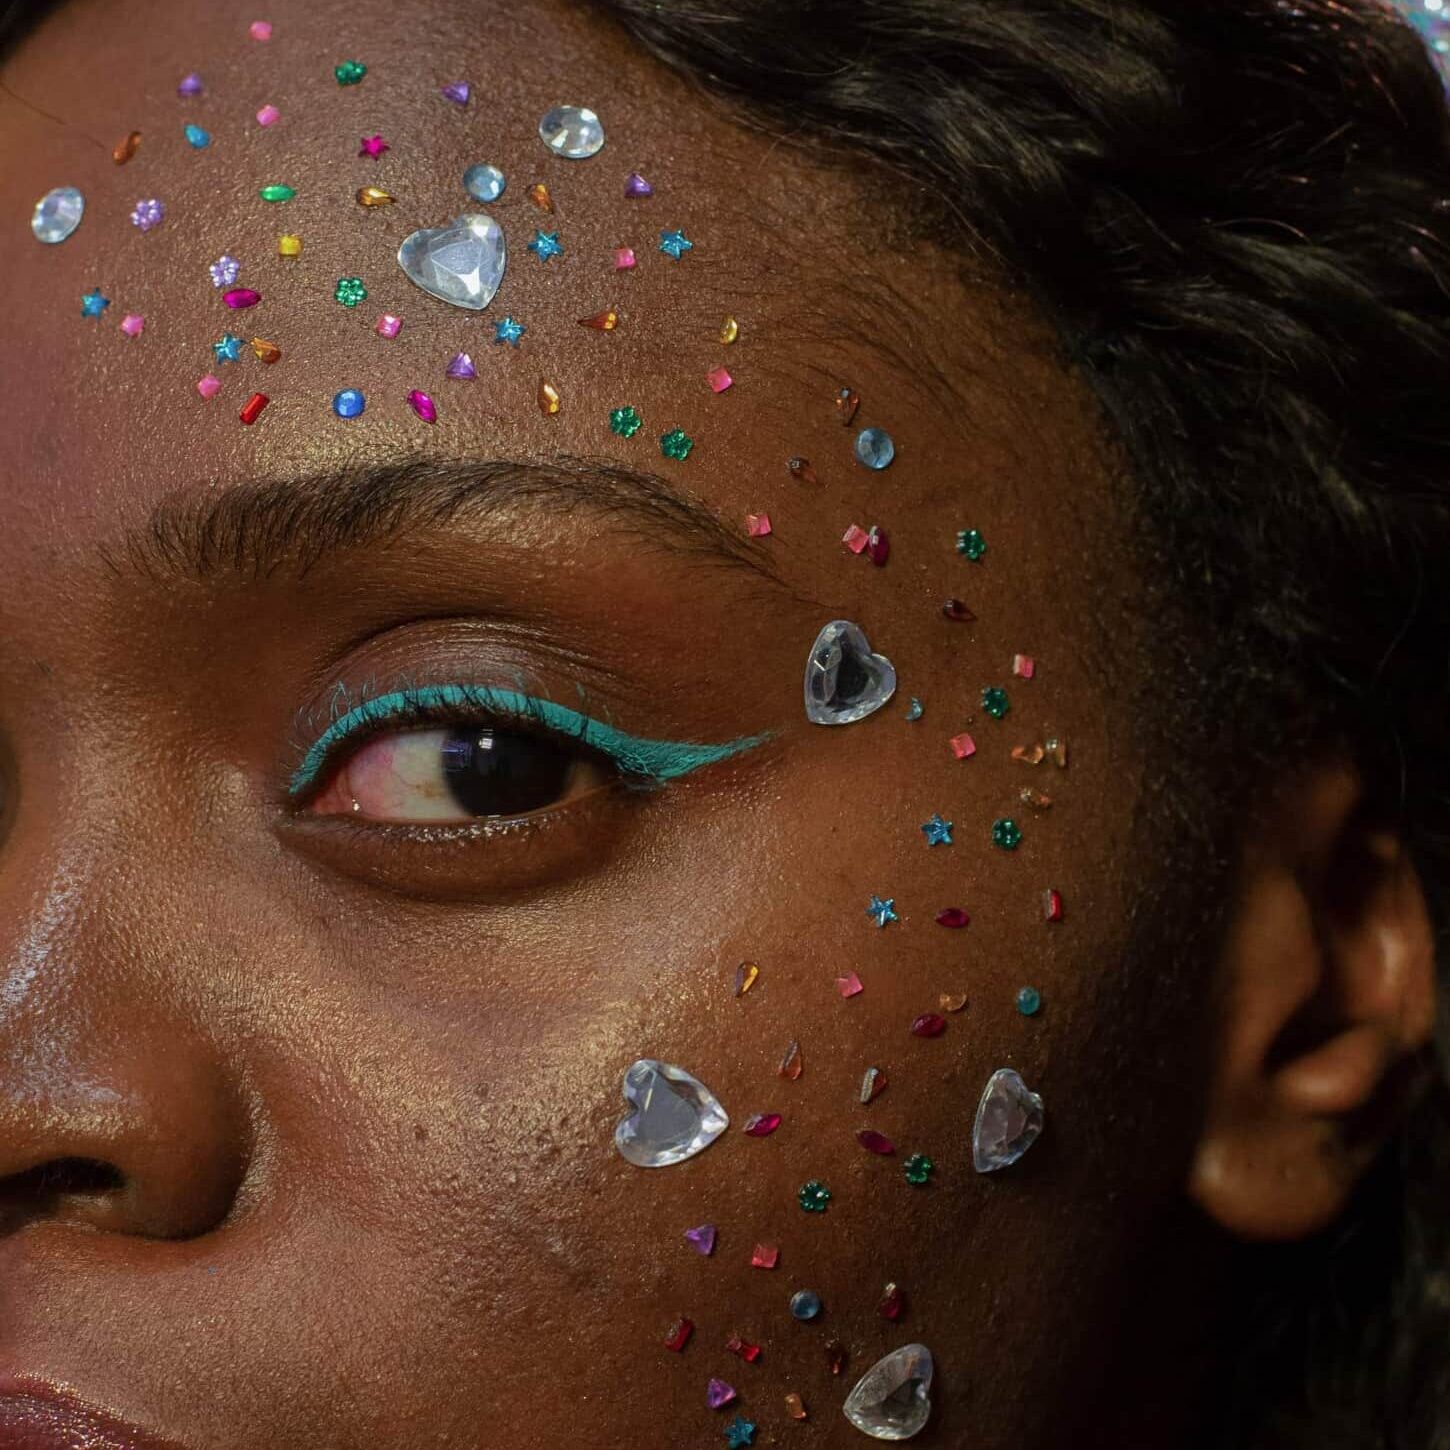
Graphic eyeliner, a classic cat-eye, or a history-rich kohl liner, eyeliner in general may feel chaotic, and that includes all expertise levels, from beginner to pro.
The bright side of all this, is that you can literally learn to wing things up in minutes, because once you’re truly set with the fundamentals of knowing how to apply eyeliner, you’re good to go.
Eyeliner is that one make-or-break makeup step, but without making it sound way too dramatic (although where there is eyeliner, there must be drama), scrolling down you’ll be able to channel your inner makeup artist while encountering four different types of eyeliner and their specific application.


Does Eyeliner Fit Everyone?
Most definitely yes. There are no rules to stick to. But remember, it’s always best to match the eyeliner technique based on your specific eye shape.
Things to Keep in Mind When Applying Eyeliner
- Make sure your hand is supported on a flat surface. A flat surface that’ll support a steady hand and also a mirror that you’re facing correctly will always end up with a flawless eyeliner look.
- Gently pull the skin. When you slightly pull up the skin close to your eyes, chances are you’ll perform a more clarified eyeliner wing.
- The importance of eyeliner symmetry. To make sure you’ll stare in every makeup mirror you pass by, check if your eyeliner on both eyes is even. Remember, for great eyeliner symmetry, a poker face is the right way to do it. You should keep your eyes open while drawing the eyeliner, no matter what look you’re going for.
- Using tape when applying eyeliner. A great suggestion (and an efficient makeup tip for me) is using tape to support the artistry on whatever color or liner wing type is going on. Cat or siren-eye, sometimes just a brush is not enough.
- Always warm up the lid before eyeliner. Even if you want to choose an eyeshadow tone that barely even looks like it’s there, do it. It’s always better to apply a nude or soft beige eyeshadow, rather than just drawing lines on a naked lid. Earth-toned eyeshadow colors are preferred, but if the feeling of complicated eye makeup is just not up in the air, makeup primer application would be the best bet for you.
The Different Types of Eyeliner
There are thousands, if not zillions of eyeliner products out in the beauty market, offering multiple choices for you to pick from. Let it be pencil, gel, liquid or felt-tip liner, the holy-grail of the variety of eyeliner products will never trigger a master.
The tips and tricks below will help you obtain the know-how of nailing an eyeliner look with any of the products.
How to Apply Pencil Eyeliner?
Pencil eyeliner doesn’t require that much amount of time or skills.
- You can simply start from your inner corner and keep drawing next to your lash line, and make sure you thicken the line as you apply the product going towards your outer lid.
- Up from there, if you want an outrageous wing, or just a simple eyeliner look to leave a subtle print on someone’s fantasies, it’s all up to you. For a defined line make sure the pencil is sharpened.
- If it gets messy, you can grab a cosmetic pad with some makeup remover on it and gently remove the excessive product on your eyes.
Pencil eyeliner is also that one product that is very beginner-friendly. Speaking of makeup beginners, or the ones that are not as familiar with the technique, eyeshadow as eyeliner is also the perfect way of getting a promising look.
You just have to pick your favorite eyeshadow color from your palette and apply the line with an angled brush.
How to Apply Liquid Eyeliner?
Liquid eyeliner will always offer a glimpse of silky dreams. Unlike pencil eyeliner, liquid eyeliner slightly asks for more attention and detail. And – I can’t emphasize this enough – patience.
I’m not trying to suggest that nailing the perfect application of liquid eyeliner is something only a few can do, matter of fact, you can nail a tremendous wing on your first try, and I’ll show you how.
- For a smooth application of your liquid eyeliner, you can start right on the outer lids, creating a winged line going toward your eyebrows. The angles of the wing are just about as you please.
- After doing so, you go to the inner corner of your eyes and start drawing a thin line, making sure it connects the just-performed wing correctly.
If you find this whole thing draining, you can create some dots on your lash line and then connect them with the wing – I like to call it the constellation eyeliner technique.
If you do not feel comfortable enough going wild with liquid eyeliner, you can draw a line with pencil eyeliner first, and then layer it up with the liquid one. It’s always better safe than sorry.
How to Apply Gel Eyeliner?
You can never go wrong with gel eyeliner, especially if you decide to go for a long-lasting, not-smudgy look. Promising for beginners, gel eyeliner can be your best friend. What you should look for in a pot of gel eyeliner though, is the pigment and abundance of the product, since the brush you’re using may not give a whole consistent amount of product once it’s applied.
- After getting the product with the brush, you can apply the gel eyeliner starting from your wing and drawing toward the inner corner. Again, the thickness of the wing depends on personalization.
The application process seems to be the same as the application processes of liquid and pencil eyeliners, although the product gives off more of that ‘clean’ or easy look.
For the sake of enhancement, I always recommend going for vibrant gel eyeliner colors.
How to Apply Felt-Tip Eyeliner?
If you’re wondering what felt-tip eyeliners might be, you’re in the right place. Felt-tip eyeliners are the eyeliner version of the school project sharpies we used in the good old days.
Great for those who are not confident in drawing eyeliner with the traditional liquid liner thin brush, everything a fine-tip eyeliner application asks for is quite simple.
- The application process of felt-tip eyeliner starts by drawing a thin line on your upper lash line, on an upward motion to your outer corner, creating a slight wing, and gently layering the whole line if you decide to go for a more fierce type of look.
How to Apply Eyeliner on the Lower Lid?
Most of the time, the upper lid may get a lot of attention, makeup-wise. However, on a lower lid-which in the beauty realm is known as the waterline area- eye makeup looks stunning, especially if it’s eyeliner we’re thinking of.
- Subtle colors, such as nude or gray are perfect if you want to give off that energetic, fresh vibe.
- You may even choose black eyeliner for your lower lid, and be free of the beauty myths considering if black liner on your waterline makes your eyes look smaller- it all plays down on how you apply it.
For safety reasons, you may want to consider gel and pencil eyeliner for a lower lid line. Although, because this area is very sensitive, make sure you don’t put that much amount of product because it’s harder to remove, and please avoid waterproof eyeliner as much as you can.
When applying the eyeliner on your lower lid, you should gently draw a mostly transparent line with your pencil or the brush of the gel eyeliner first. Then, you draw over it multiple times for pigmentation reasons.
To complete a full smokey eye look, you may want to pick up a makeup brush and just spread the product smoothly, or even apply some eyeshadow that matches the eyeliner color.
If any mistakes occur through the application process, you can refine this lower lid eyeliner with the same shade of concealer you usually use on your under eyes, but keep in mind; only apply on your outer lash line – we most definitely do not want concealer dripping on your cornea.
. . . and That’s a Wrap
Whenever you feel like you want to switch from one eyeliner technique to another, or you need a winged liner refresher, you’re free to come here and take a look at the tutorials shared.
It truly is a journey since it is that one makeup step you don’t want to miss out on.
Getting the picture-perfect eyeliner may sometimes feel frustrating, but little by little, you’ll get there.


