Mastering the art of contouring can be a game-changer, both in terms of time-saving and getting the most out of your contour palettes (or other contour product formulas you picked, which we’ve covered below). Simply said, owning a contour product doesn’t promise you the perfect application technique, so we’ve decided to break down the step-by-step guide to contouring, application techniques based on your face shape, tips on choosing the best contouring products on the market and more.


What is Contour?
Contouring can be likened to the artistry of sculpting, where you have the power to enhance your features and create a beautifully defined look. Contour is that product that will add depth, and through its usually darker shades, it helps in defining the features.
This product comes in a matte finish, and mostly is earth-toned, and it will definitely give an energy of sculpting, when applied on the right face areas.
While contouring adds dimension to the face, it’s important to say that it should not be overdone. Contour must rather enhance your natural features, giving a chiseled look.
Gone are the days of obvious lines and stark contrasts; instead, we now strive for a contour that appears effortlessly flawless and already a part of our inherent charm.
And we are here to guide you on your journey towards achieving that effortlessly flawless contour.
How to Pick the Right Contour Product?
When selecting a contouring product, it’s generally recommended to choose a shade that is about two shades darker than your natural skin tone.
However, it’s important to consider your own complexion and preferences when choosing the perfect contour shade, as individual skin tones and desired looks may vary.
Different Contour Formulas
When it comes to makeup contouring, we’re fortunate to have a wide range of formulas to choose from. Whether it’s contour sticks, powder formulas, liquid options, palettes, or creams, there’s something for everyone. These options may differ in terms of application experience, suitability for different skin types, and the desired makeup look.
Cream Contour
Cream contour, a popular contour formula choice, is very much beginner-friendly, and can easily be applied, especially if the dewy makeup look is the aim.
With its creamy texture, this popular contour formula choice is designed to create shadows and definition on the face for a sculpted look. Cream contour is easy to apply and blend due to its smooth consistency. It provides a natural and dewy finish, enhancing the facial contours.
Cream contour sticks, housed in a convenient stick form, offer a buildable and natural application. Stick contour is a popular choice for its precision and ability to deliver a seamlessly blended look.
Cream contour sticks, housed in a convenient stick form, offer a buildable and natural application. By simply swiping the product onto desired areas, the creamy texture allows for easy blending and layering to achieve the desired level of contouring.
Liquid Contour
Liquid contour is a thinner, liquid-based product for achieving a natural and subtle contour effect. It blends seamlessly into the skin, providing a hydrated and dewy finish. It’s particularly suitable for those with dry or mature skin, offering a lightweight feel. If you want a contour that looks effortlessly natural, give liquid contour a go!
The liquid formula allows for seamless blending into the skin, resulting in a smoother and more blended contour appearance.
Liquid contour is often preferred by those with dry or mature skin, as the formula tends to provide a more hydrating and dewy finish.
Powder Contour
Powder contour is a versatile and user-friendly option for achieving a sculpted look. Packaged in a powder form, it offers convenience and ease of application. Simply use a contour brush to lightly sweep and blend the powder onto desired areas of the face.
The buildable nature of powder contour allows for customized intensity. It provides a matte finish, defining shadows and creating depth.
It is mostly preferred by those with oily or combination skin, as the powder formula helps absorb excess oil and provides a matte finish.
Powder contour is long-lasting, ensuring your contour stays in place throughout the day.
Powder contour may not be the best option for beginners who are new to contouring, as it requires some practice to achieve a seamless and natural-looking result. However, if you’re determined to use powder contour, here are a few tips to help you out.
Start by choosing a powder contour kit that matches your skin tone. Use a fluffy contour brush to apply the powder lightly in the hollows of your cheeks, along the jawline, and the sides of your nose. Remember to blend well using gentle strokes to achieve a natural-looking contour. It may take some practice to get it right, so be patient and keep experimenting.
If you find it too tricky, you can also consider trying other beginner-friendly contouring options like cream or liquid contour.
Step-by-Step Guide Contour Application Technique
Step 1: Skin Prep Before Contour
The importance of accordingly integrating the right moisturizer in your skincare routine, and then opting for the benefits of makeup primer, can not be emphasized enough.
When applying contour, it is recommended to use foundation or tinted moisturizer as a base for a seamless and blended look. These products help create an even skin tone and provide a smooth canvas for contour application.
Step 2: Add the Shade
1) Cheekbones:
- Start by selecting a contour shade that is about two shades darker than your natural skin tone.
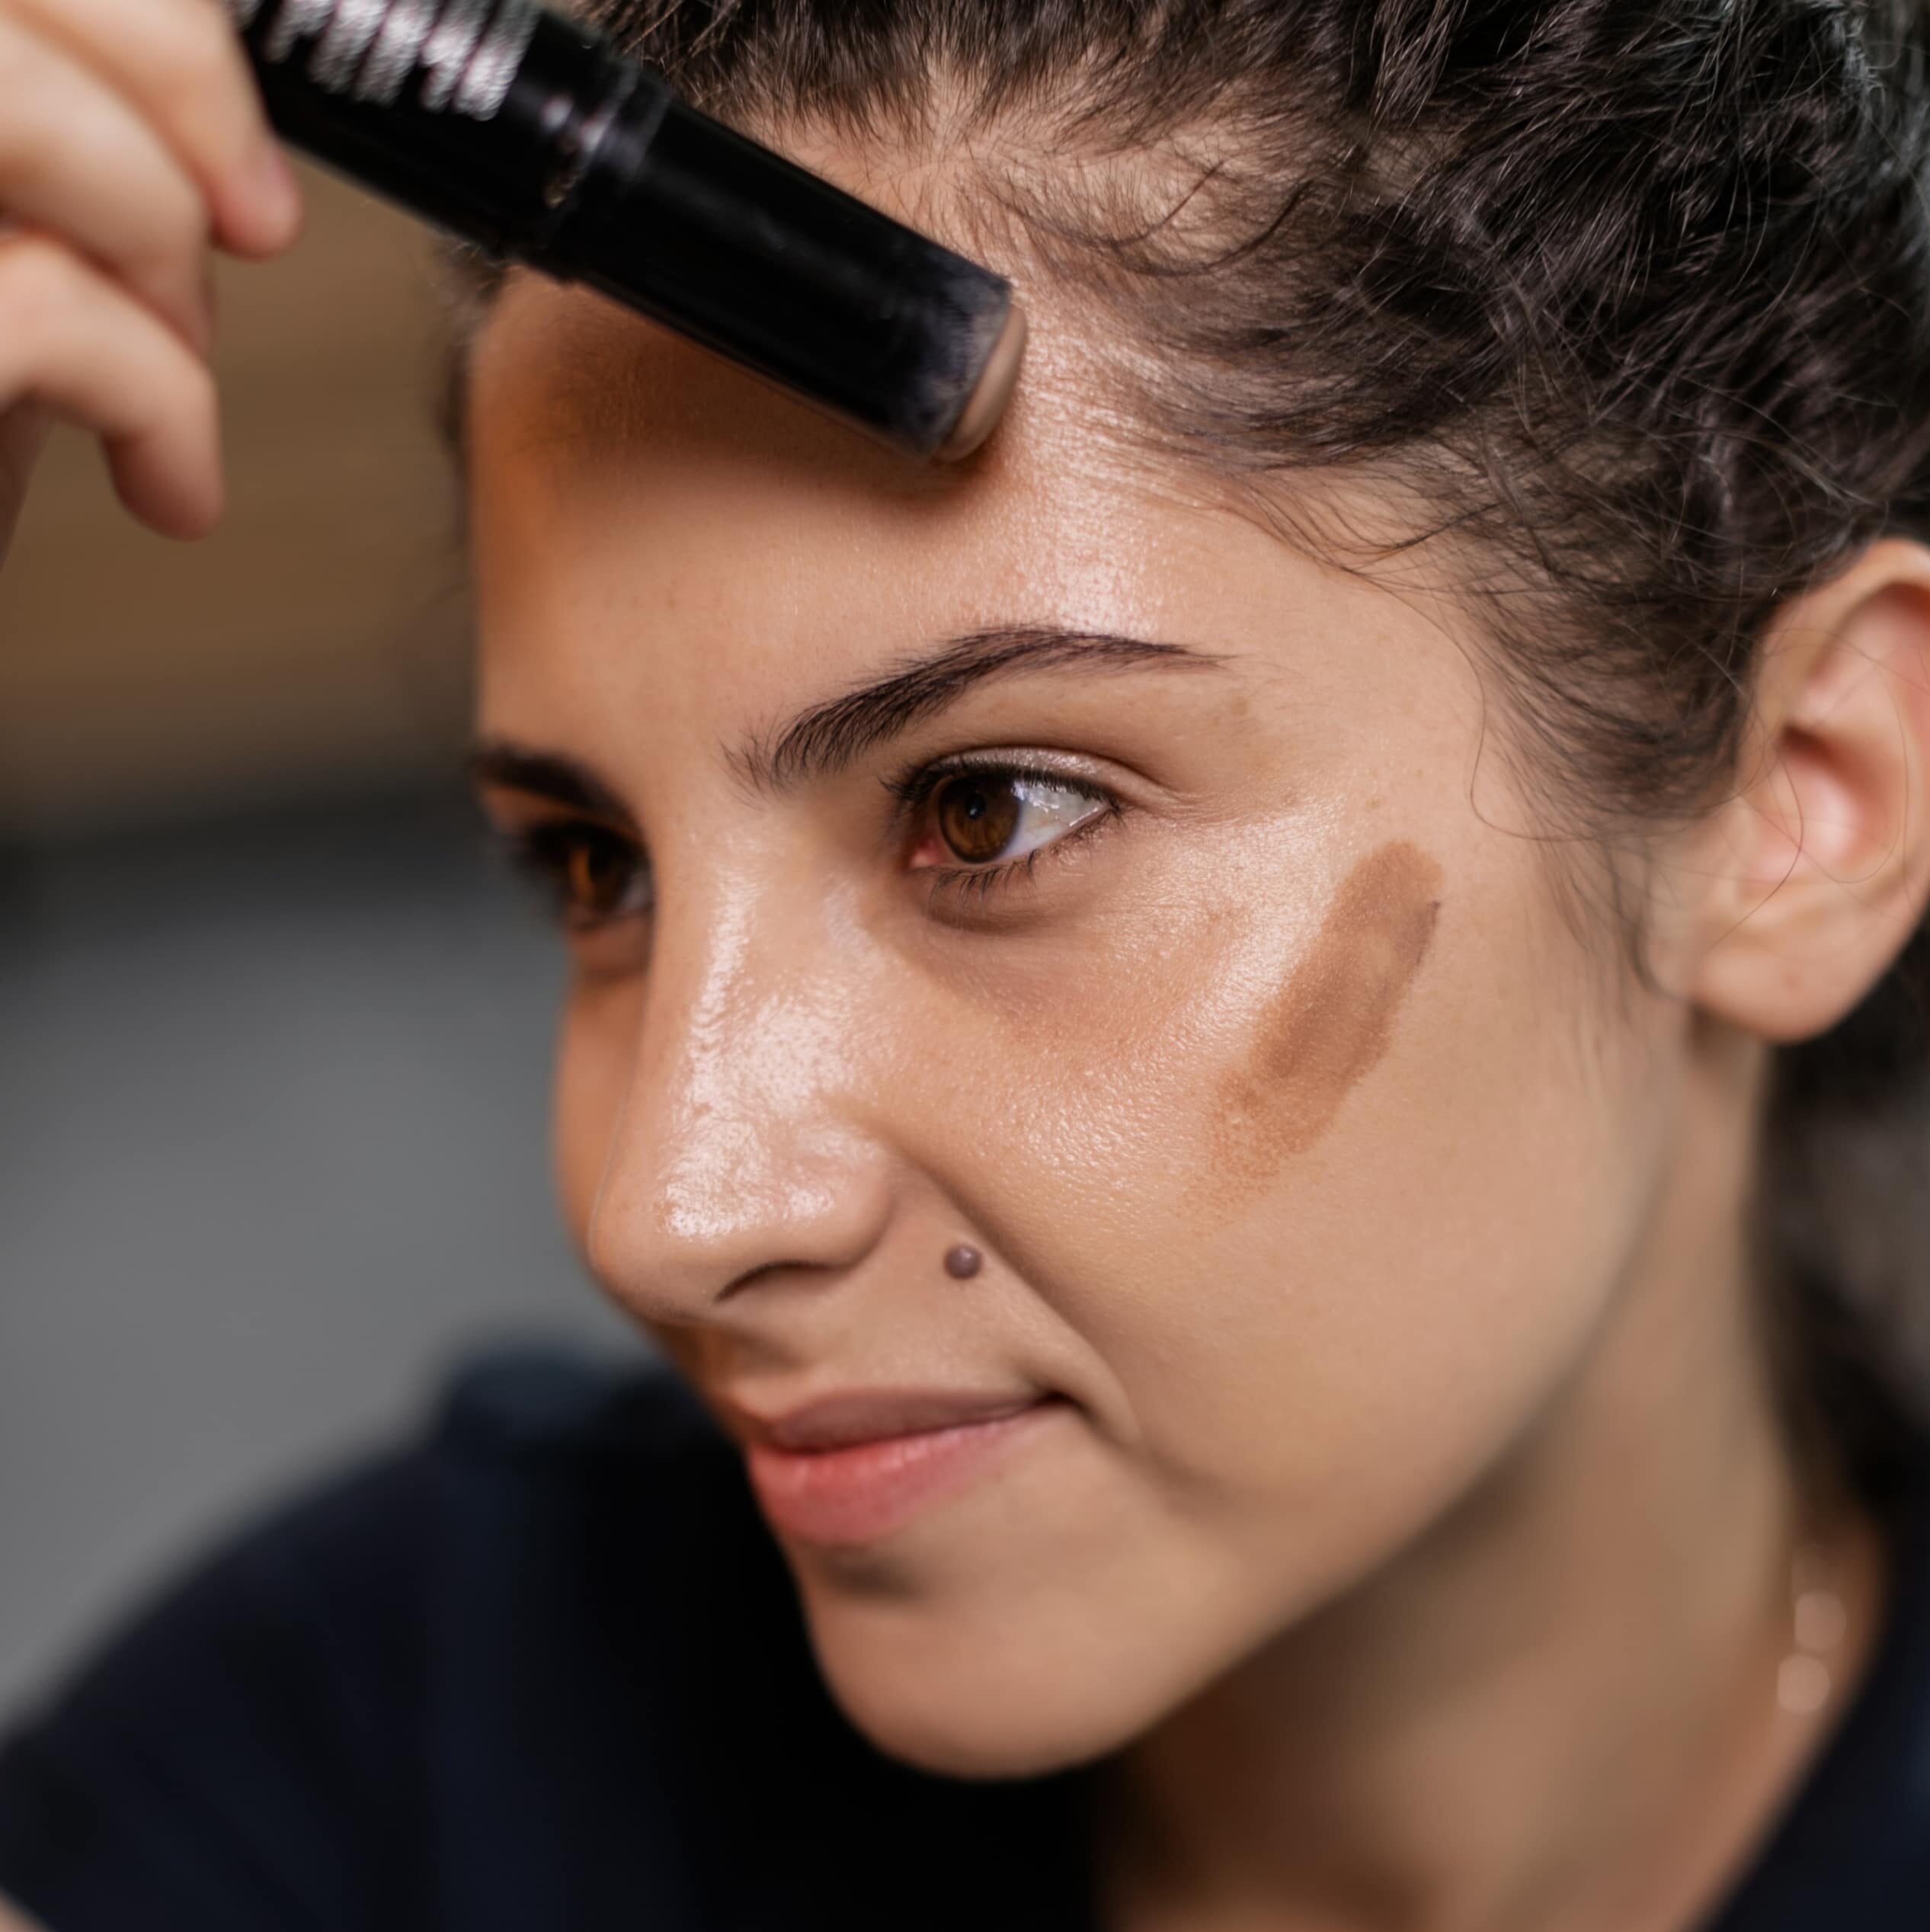
- Use a contour brush or a small, angled brush to apply the contour powder or cream in the hollows of your cheekbones.
- Begin at the hairline near your ear and gently sweep the contour shade towards the center of your cheek, following the natural curve of your cheekbone.
- Blend the contour by using light circular motions or back-and-forth motions with your brush, ensuring there are no harsh lines. The goal is to create a subtle shadow effect.
2) Temples:
- Take a small amount of the same contour shade on your brush.
- Starting at the outer corner of your forehead, near the hairline, gently blend the contour shade towards the center of your forehead.
- You can also extend the contour shade slightly down the sides of your temples for added definition.
- Blend well to ensure a seamless transition between your forehead and the rest of your face.
3) Jawline:
- Choose the same contour shade or a slightly darker one for the jawline.
- Starting from the back of your jaw, near your ears, lightly sweep the contour shade along the underside of your jawline towards your chin.
- Blend the contour shade downwards towards your neck using gentle, sweeping motions.
- Make sure to blend well to avoid any harsh lines or noticeable color differences between your face and neck.
Remember, practice makes perfect! Start with a light hand and gradually build up the intensity as you become more comfortable. Always blend thoroughly to achieve a natural-looking contour.
Contouring the nose
Contouring your nose is an optional step that can help enhance your features and achieve the look you desire. If you’d like to contour your nose, here’s a beginner-friendly approach:
- Start by selecting a contour shade that is slightly darker than your natural skin tone.
- Using a small brush or a sponge, apply a thin line of contour along the sides of your nose, starting from the bridge towards the tip.
- Blend the contour shade gently using upward strokes to create a subtle shadow effect.
- If you have a bulbous nose, focus on contouring the sides of the nasal bridge to create the illusion of a slimmer appearance.
- Remember to blend well to ensure a seamless finish.
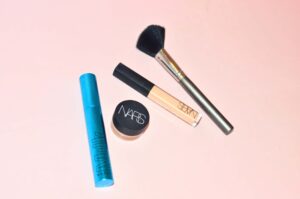
Usually, the nose bridge is contoured so a more narrowed and thinned look is achieved (for better application and settling of contour, it’s always better to use its ride-or-die – concealer).
Remember, there are no strict beauty standards to adhere to, and contouring is all about personal preference. Feel free to skip contouring the nose if it doesn’t resonate with you. Your natural beauty shines through, contour or not!
Contour and Concealer
This dynamic pairing of contour and concealer works harmoniously to sculpt and define your features. For more insights on maximizing the impact of concealer check out our informative article on concealer application techniques, product recommendations, tips and tricks.
Step 3: Applying Contour, Blush and Highlighter for a Flawless Look
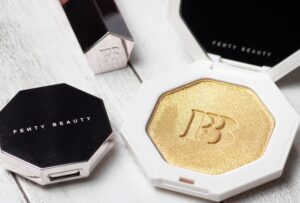
Now that you’ve mastered contouring, it’s time to add a radiant glow with highlighter. Choose a shade that suits your skin tone and apply it to the high points of your face, like your cheekbones, nose bridge, and brow bone.
The combination of contour and highlighter creates a beautifully balanced look, giving you that flawless, camera-ready finish.
Blush adds a healthy flush of color and dimension to the contoured cheeks.
For those aiming for a dewy and radiant finish, cream blush is an excellent choice. Cream formulas blend seamlessly into the skin, providing a natural-looking flush that enhances the overall dewy effect.
How to Use Contour Brush?
When using a contour brush, it’s important to choose a brush with a slanted or angled shape. This design allows for precise application and blending of the contour product. To start, dip the brush into your contour product, tapping off any excess.
Begin at the desired area, such as the temples or jawline, and gently sweep the brush along the natural contours of your face.
Use light strokes to build up the intensity gradually.
The contour brush allows for controlled application, enabling you to sculpt and define specific areas of your face with ease.
Remember to wash your makeup brushes regularly to maintain hygiene and prevent product buildup.
How to Use a Contour Sponge?
A contour sponge, often in a teardrop or egg shape, is a versatile tool for applying and blending contour. Start by dampening the sponge with water and squeezing out any excess moisture. Dip the rounded end of the sponge into your contour product, making sure not to overload it.
Begin by gently dabbing the sponge onto the desired areas, such as the hollows of your cheeks or along the jawline.
This technique helps deposit the product onto the skin. Then, using a bouncing or stippling motion, blend the contour by gently pressing and rolling the sponge.
The soft texture of the sponge helps to diffuse the product evenly, giving you a smooth and blended look.
Contouring Based on Your Face Shape
Each face shape requires a specific approach to contouring in order to achieve the desired effect. Whether you have a square, round, heart, oval, or diamond-shaped face, understanding the contours and proportions of your features is crucial.
In this guide, we will explore the techniques for contouring different face shapes, helping you unlock your natural beauty and confidence.
How to Contour a Round Face?
Round faces, although distinctively charming, can sometimes lack the desired sculpted definition found in other face shapes. However, contouring steps in as the ultimate solution. By strategically applying contour, we have the ability to enhance and transform our features, adding the illusion of depth and structure.
When thinking of a round-shaped face, picture a face with a softer, curved jawline, gentle angles, and a wide, rounded shape. The cheekbones are typically fuller and positioned at the widest part of the face, creating a pleasing and youthful appearance. The forehead and chin tend to be similar in width, completing the harmonious circular silhouette.
- With a round face, we would typically start contouring from the temples of the forehead, we contour along the hairline to create the illusion of a narrower forehead.
- Moving down to the cheekbones, we apply contour just below the cheekbones to add definition and create the appearance of higher, more prominent cheekbones. Finally, we contour along the jawline and under the chin to create a slimmer, more tapered effect.
- Using a fluffy brush or a blending sponge, gently blend the contour lines to soften any harsh edges and create a smooth transition between the contoured areas and the rest of the face.
- By blending with light, sweeping motions, we ensure that the contour seamlessly integrates with the skin, creating a beautifully sculpted yet effortlessly natural appearance.
Ultimately, the goal of contouring for round faces is to achieve a captivating heart-shaped appearance and add depth to our facial features.
How to Contour a Square Face?
Square faces are known for their strong, defined features. With prominent jawlines, straight sides, and a squared-off forehead, they possess an unmistakable angularity. However, if you’re looking to soften those angles and achieve a more balanced look, contouring can work wonders.
- To contour a square face, target specific areas to soften its angles and create a more balanced look.
- Begin by contouring the temples and outer edges of the forehead, which helps to minimize the squareness and adds a touch of roundness.
- Next, focus on contouring just below the cheekbones, adding depth and creating a subtle curve to enhance the face’s natural contours.
- Lastly, contour the jawline and corners of the face to soften the strong angles, achieving a more gentle and feminine appearance.
- Grab a fluffy brush or a blending sponge and blend with gentle, sweeping motions.
This technique ensures a seamless integration of the contour with your skin, softening any harsh lines and creating a natural, well-blended look.
The aim is to achieve a harmonious balance between the sharpness of the square face and softer, more feminine contours.
How to Contour a Heart-Shaped Face?
Heart-shaped faces often have naturally well-defined cheekbones, but can lack sculpting in the forehead area. Contouring comes to the rescue by providing a solution to this imbalance.
- By adding a touch of contour along the temples and hairline, we create the illusion of a more sculpted and balanced forehead. Additionally, contouring just below the cheekbones helps accentuate their natural prominence, giving the face a captivating lift.
- Through applying contour just under the chin and along the jawline, we can create a more defined and tapered effect, enhancing the overall symmetry of the face.
- To achieve a flawless finish, don’t forget to blend the contour with gentle circular motions, ensuring a seamless transition between the contoured areas and the rest of the face.
- Blending is the secret ingredient that makes the contour appear effortless and natural, enhancing the overall beauty of a heart-shaped face.
How to Contour an Oval Face?
An oval face shape is characterized by balanced proportions and gentle curves. It features a slightly narrower forehead and chin, with the widest part being the cheekbones. Contouring an oval face aims to enhance these natural features by sculpting the hairline, cheekbones, and jawline for a more defined look.
When working with contouring techniques, we can slightly shorten the length of the face while accentuating the contours of the cheeks and jawline.
- Focus on product placement along the hairline, just above the temples, to add dimension.
- Then, apply contour below the cheekbones to create depth and emphasize their natural shape.
- Finally, contour along the jawline to add definition.
- When blending, use gentle strokes to seamlessly blend the contour into the skin, creating a polished finish.
The key is to enhance the already well-proportioned features of an oval face, ensuring a flattering and balanced look.
How to Contour Diamond Face Shape?
A diamond-shaped face is characterized by high, defined cheekbones, a narrower forehead, and a tapered jawline that comes to a point. It resembles the shape of an actual diamond, with angular and sculpted features that create a striking and elegant appearance.
Contouring can work wonders for a diamond-shaped face, helping to create balance and enhance its unique features.
- One of the key areas to focus on is the forehead, where contouring can be used to narrow it down and create a more proportional look.
- By applying contour just along the hairline, we can visually minimize the width of the forehead.
- Additionally, placing contour below the cheekbones can bring out a natural prominence, further accentuating the facial structure.
- To achieve a flawless finish, blending is essential. Take a brush or sponge and carefully blend the contour lines to create a seamless and natural-looking result.
Remember, the goal is to achieve a harmonious look that highlights the distinct features of a diamond-shaped face, resulting in a refined and balanced appearance.
How to Contour a Rectangle Face?
A rectangle face shape is characterized by a longer length and a straighter, more elongated shape. The forehead, cheeks, and jawline have similar widths, but the face appears more elongated overall.
With a rectangle face shape, the focus of the contour product is on adding softness and dimension to certain areas. To achieve this, contouring is applied strategically to specific regions of the face.
- To contour a rectangle-shaped face, we begin at the temples, carefully applying contour along the hairline. This technique visually reduces the length of the forehead, creating a more balanced look.
- Moving to the outer corners of the forehead and jawline, we softly blend the contour, skillfully softening the angles and adding a touch of roundness to the face.
- By contouring just below the cheekbones, we bring definition and create the illusion of higher cheekbones.
- Blending is key here—using a fluffy brush or blending sponge, gently blend the contour for a seamless and natural finish.
The goal is to achieve a harmonious transition between the contoured areas and the rest of the face.
FAQs
How to Contour a Skinny Face to Look Fuller?
Contouring can enhance a slender face, adding dimension and fullness. Apply contour along the temples, beneath the cheekbones, and along the jawline. Blend for a natural look that celebrates your unique features. Embrace these techniques to achieve a stunning, balanced appearance.
How to Contour Face to Look Younger?
Contouring can help achieve a more youthful appearance by creating dimension and lift. Choose a matte contour shade slightly darker than your skin tone. Focus on areas like the cheeks, temples, and jawline, blending with a brush or sponge for a natural result. Strategic sculpting and definition can give the illusion of a more rejuvenated face.


